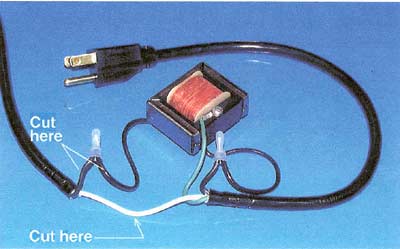
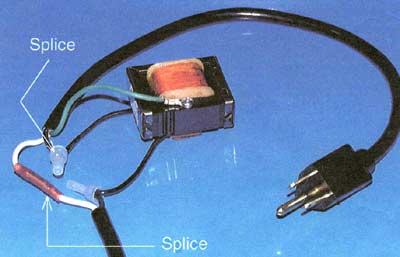
| Lamps and starters for the work lamp are not replaceable. The entire assembly must be changed. The starter for the work lamp is located in a “clam shell” on the line cord; cutting and splicing is necessary for installation. |
| REMOVE OLD WORK LAMP 1. Set socket strip switch “off”. |
|
PREPARE NEW WORK LAMP
1. Open “clam shell” and cut white wire at mid-point. |
| INSTALL NEW WORK LAMP 1. Thread cord from lamp through flexible conduit.
3. Strip black and white wires about 3/8”. |
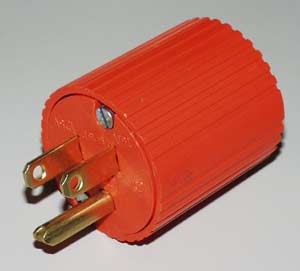
| Outlet Strip Suppression Capacitor This Work Lamp Kit includes a Noise Suppressor Capacitor which has been built into a standard line plug.
Simply plug the assembly into the outlet strip on the back of the GT75 to provide additional noise suppression. |


